Caution: I won’t take any responsibility for any damage! You will lose your warranty (if you have any...)
Hint: Most images can be enlarged by downloading or opening them in a new tab.
Palm LifeDrive Specifications
The Palm LifeDrive is a so-called "Mobile Manager" and has the advantage (and disadvantage) of a 4 GB microdrive. (A microdrive is essentially just a very small classic hard disk.) One advantage is that you can store nearly 4 GB of data on this machine. When it came out in May 2005, it was quite a big deal because most other Palm devices were not able to store more than 2GB via an SD card. On the other hand, we are talking about a rotating hard disk. Everyone who has switched from an HDD to an SSD knows what this means: it is slow. You notice this especially when the device performs normal operations, because the OS is also stored on the microdrive by default. Fortunately, Dmitry Grinberg has addressed this problem and developed a tool that makes it relatively easy to replace the mechanical microdrive with a fast (and power-saving) CompactFlash card. This article explains how to do this.
These are the specifications of a Palm LifeDrive:
| OS: | Palm OS 5.4.8 |
| Upgradable to: | - |
| Flash ROM: | ? MB |
| Display: | 16-bit color TN LCD touchscreen |
| Display Size: | 3.8 inch |
| Display Resolution: | 320x480 pixels |
| Touchscreen Type: | Resistive screen |
| Backlight: | Yes |
| RAM (memory): | 64 MB (55 MB available) |
| Expansion: | SD cards (also MMC, supports SDIO) |
| Audio (In/Out): | Mono speaker, 3.5mm headphone jack, microphone (for voice recording) |
| Processor: | Intel XScale PXA270 416 MHz |
| Interfaces: | RS232 (115200 bps max.), Infrared (IrDA 1.2), Wireless LAN 802.11b, Bluetooth 1.1, USB 2.0 |
| Power Supply: | Built-in Li-Ion battery (1660 mAh) |
| Size (in mm): | 121 x 73 x 19 |
| Weight: | 193 g |
| Released: | May 2005 |
| Release Price: | US$499 |
What is Needed?

- A Palm LifeDrive with Update 2.0
- Maybe a Windows PC (if you do not have Update 2.0 installed)
- A Torx 5 screwdriver
- Tools to open the device (please do not use a screwdriver!)
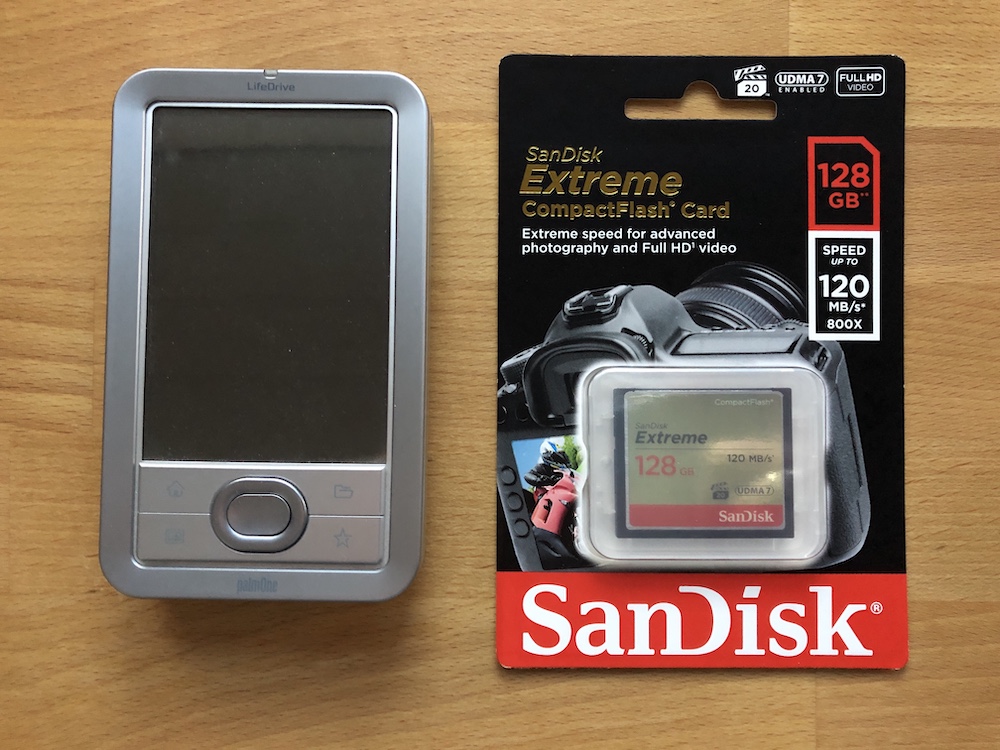
- An SD card with 64MB or more (I used a 2GB card)
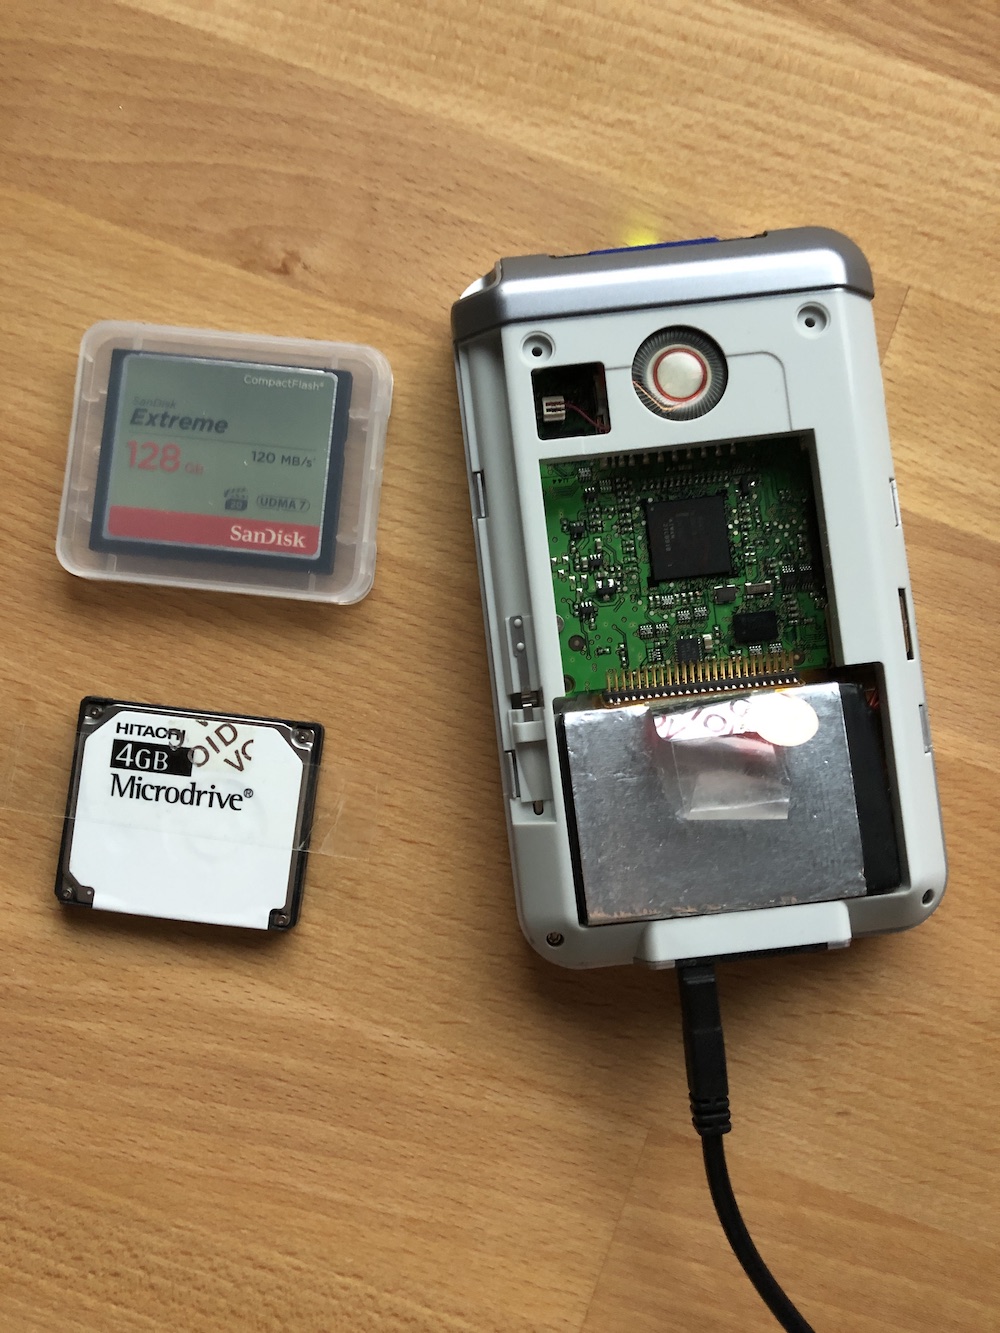
- A SanDisk Extreme 128GB UDMA 7 (120 MB/s) CompactFlash card
- PowerDrive from palmpowerups.com
If you do not have tools to open the device, please do not use a screwdriver or other metal parts. The risk of damaging the housing is too high!
Also: Not every CF card is suitable for this project. You can find a list of compatible cards here.
Instead of this article, you can also follow the instructions from the author of "PowerDrive," Dmitry Grinberg: PowerDrive
Necessary Steps
-
First of all, you need to check if the Palm LifeDrive Update 2.0 is needed. Just check the version of "WiFiLib". If it is version 1.0.6 or lower, you need the update. If it is 1.0.7, you already have the update. (See: Palm's old "Support Knowledge Library" via web.archive.org)
-
If the update is needed, you can download it from here. Also, follow the instructions on that site to perform the update.
-
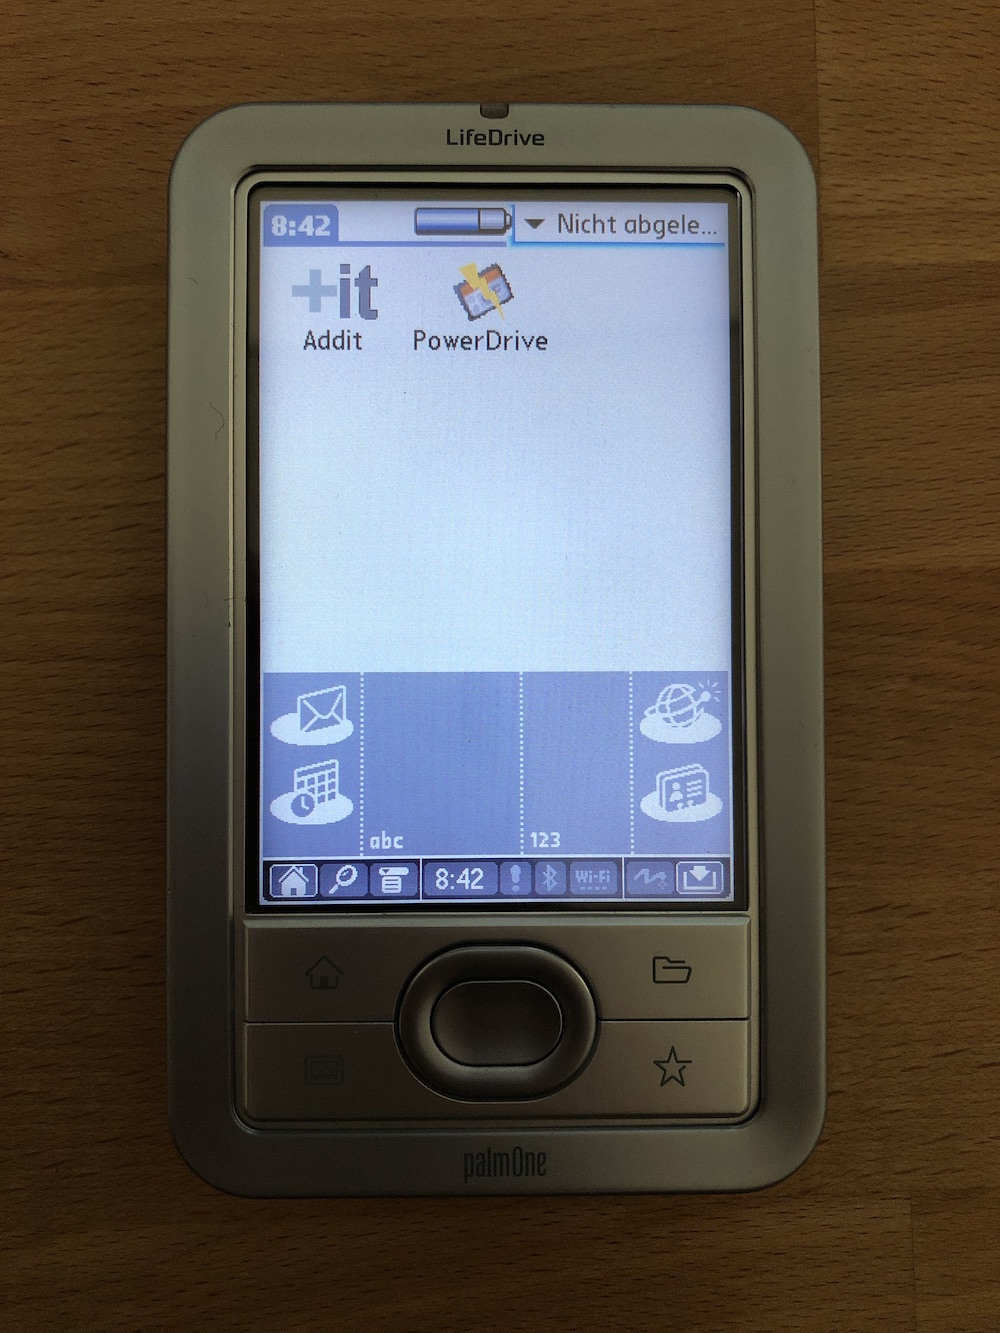
After the update is installed, PowerDrive from palmpowerups.com is needed. Just download it and copy it onto the LifeDrive. Make sure it is installed on the RAM and not on the SD card. (Otherwise, the process will not work - I tested it.)
-
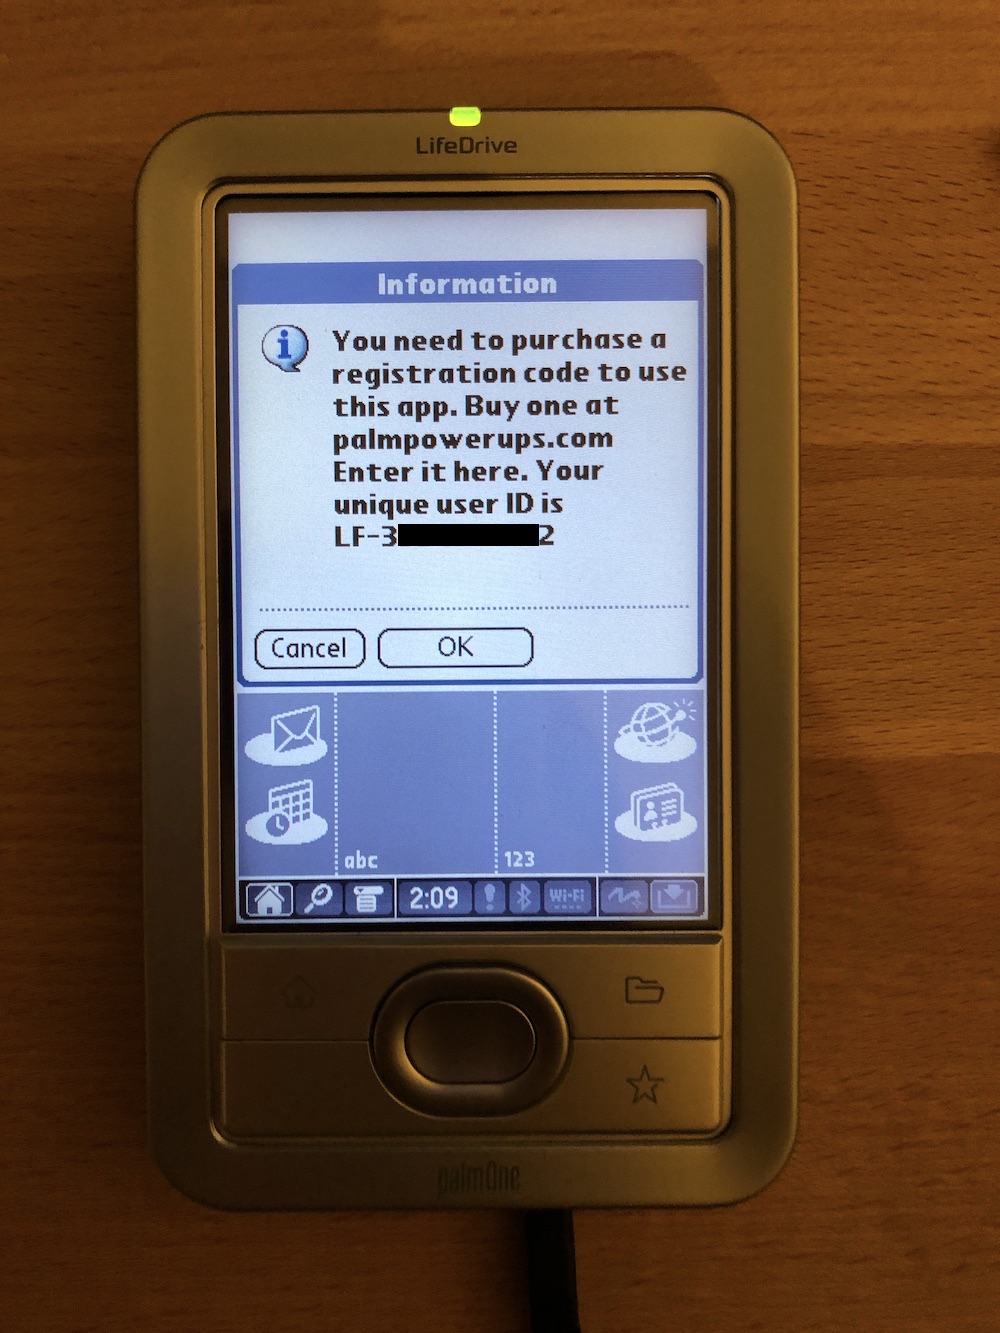
Next, you need to insert (if not already) at least a 64MB SD card with 32MB or more free space. (I used a 2GB Kingston SD card for this project). Now, PowerDrive can be started. Directly after the start, registration is required. Fortunately, Dmitry does not charge any more money for the application and you can simply generate a key here. Just enter the shown unique user ID and click on "GO". Then, enter the generated code from the website in the text field and tap on "OK".
-
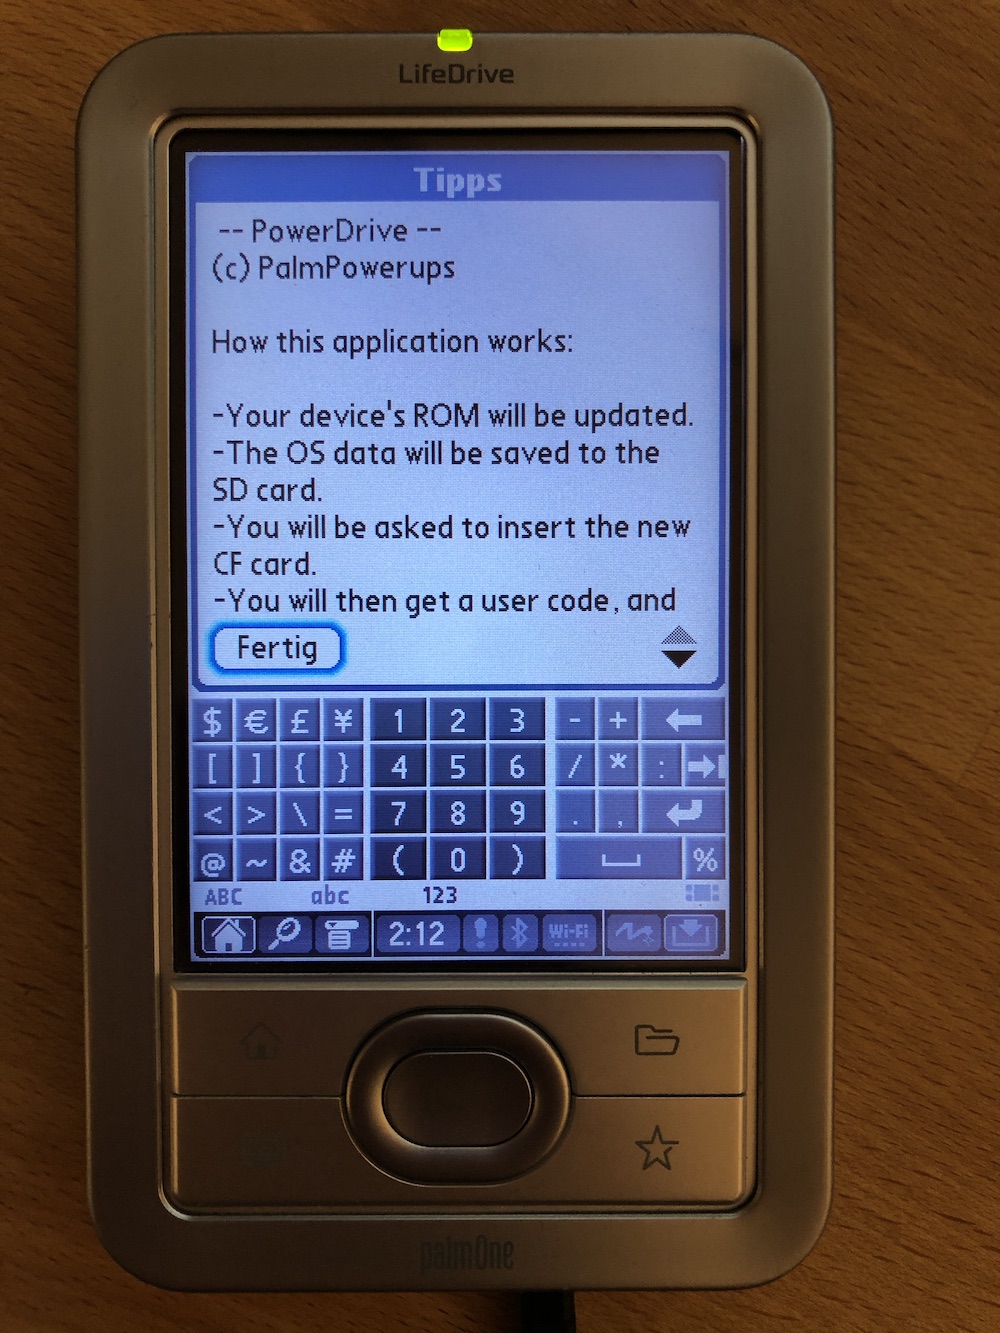
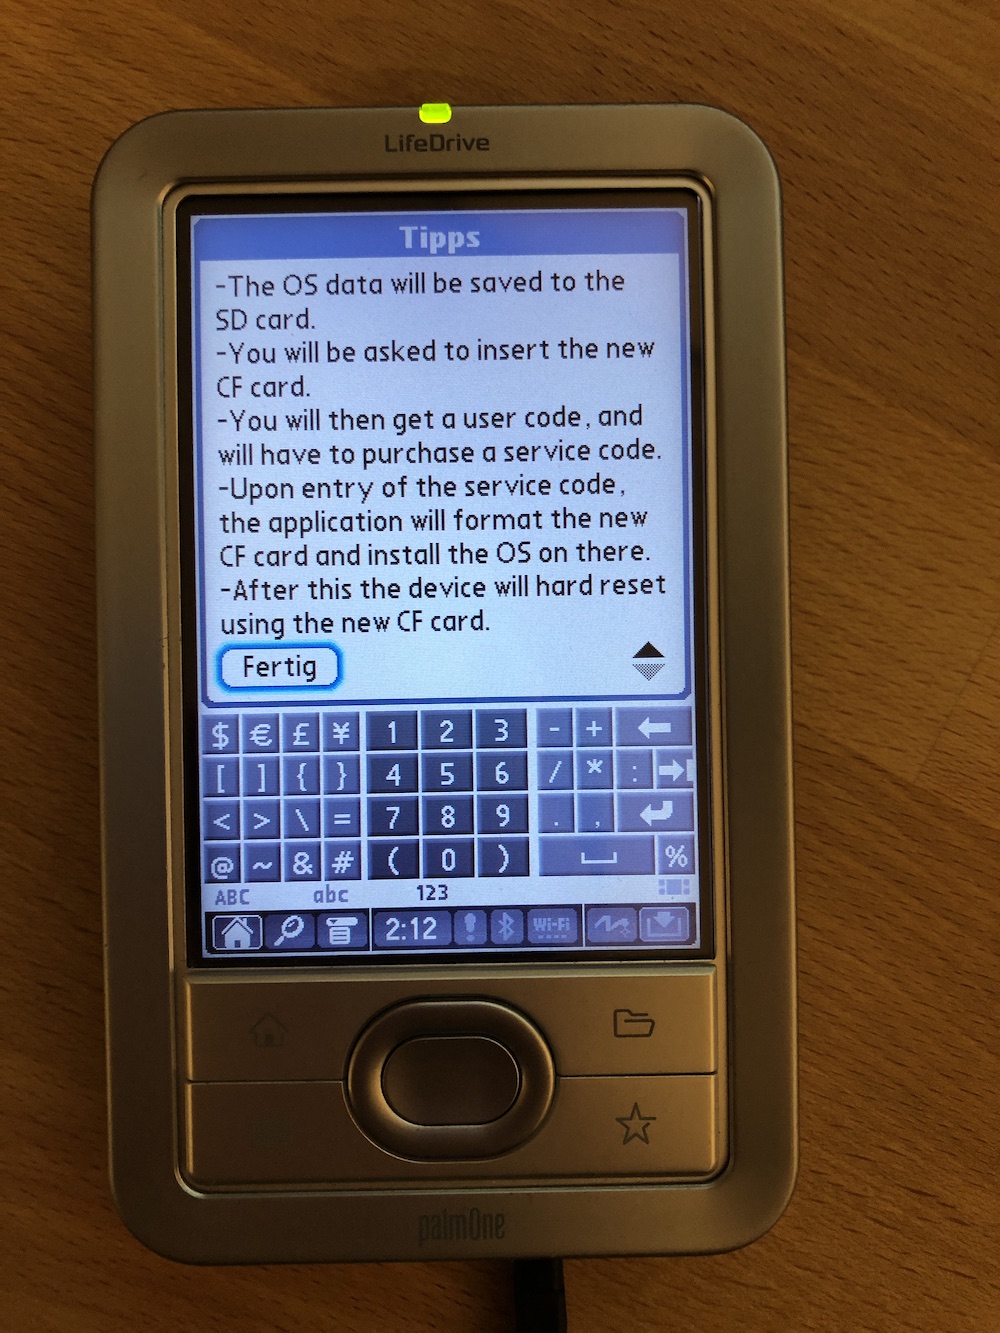
When the registration is successful, some useful tips are shown:
-
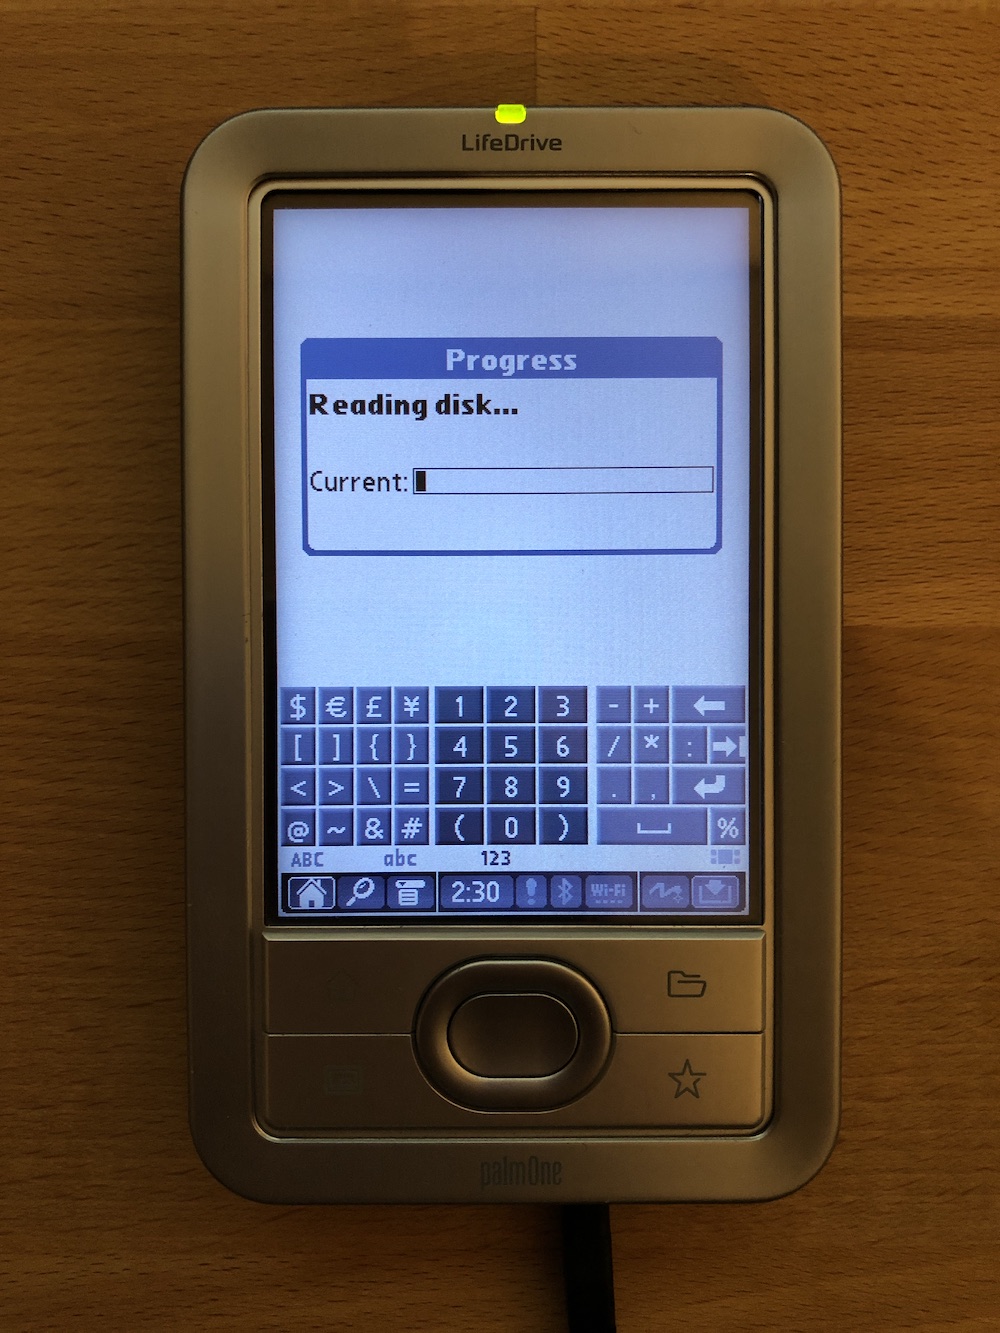
Confirming with "Done" ("Fertig"), the copy process starts:
-
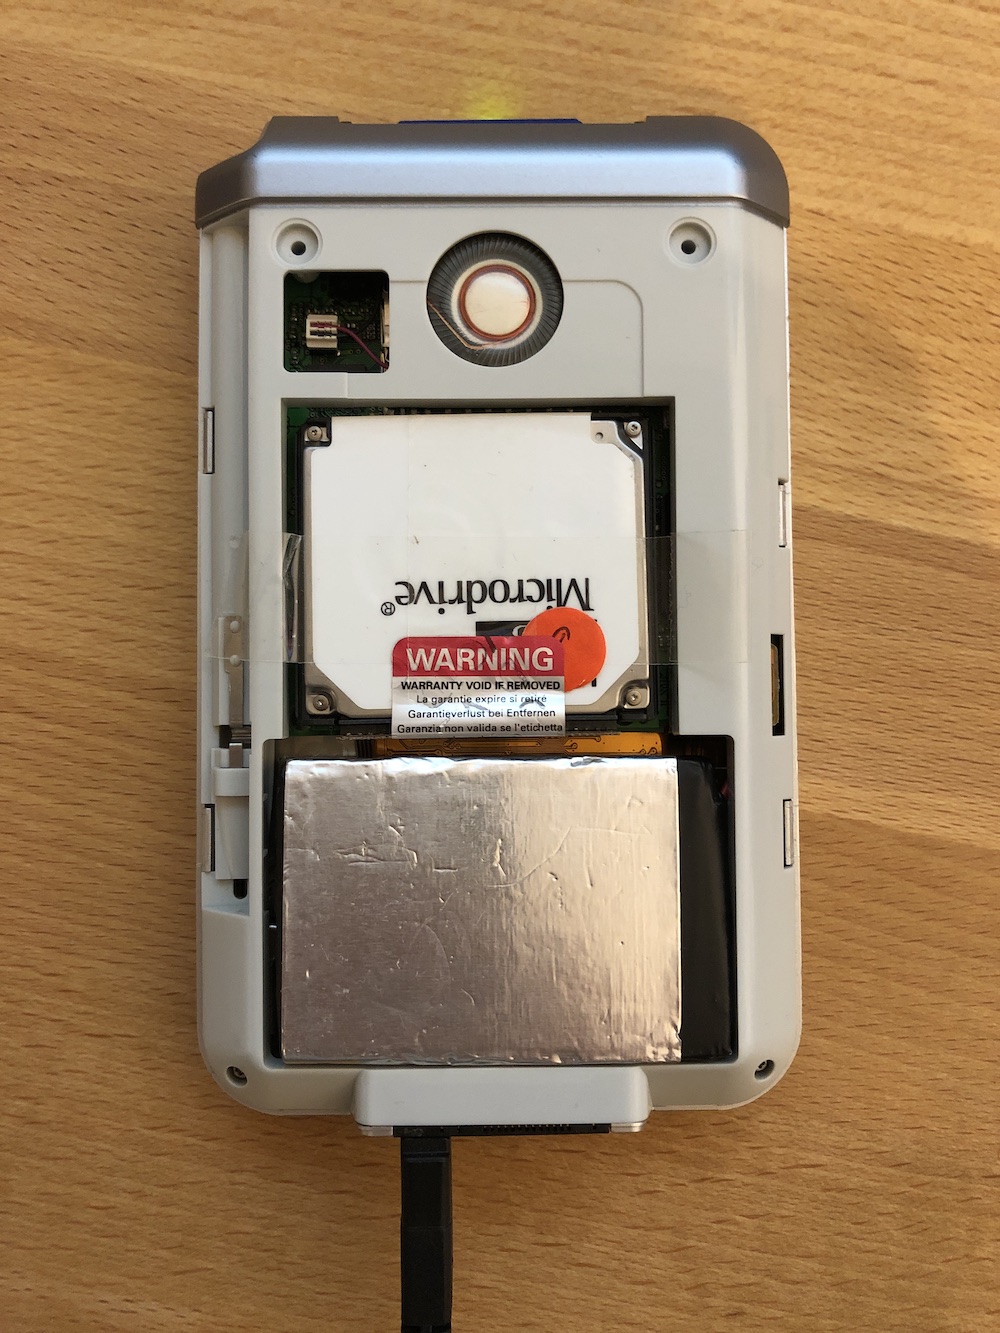
You can open the device very carefully (!!!) during the copying process. (Or do it after the copy process has finished.) Just remove the rubber pads from the back and unscrew the two screws with a Torx 5 screwdriver. After opening the housing with some opening tools, you will have access to the microdrive.
-
The copy process takes some time.
-
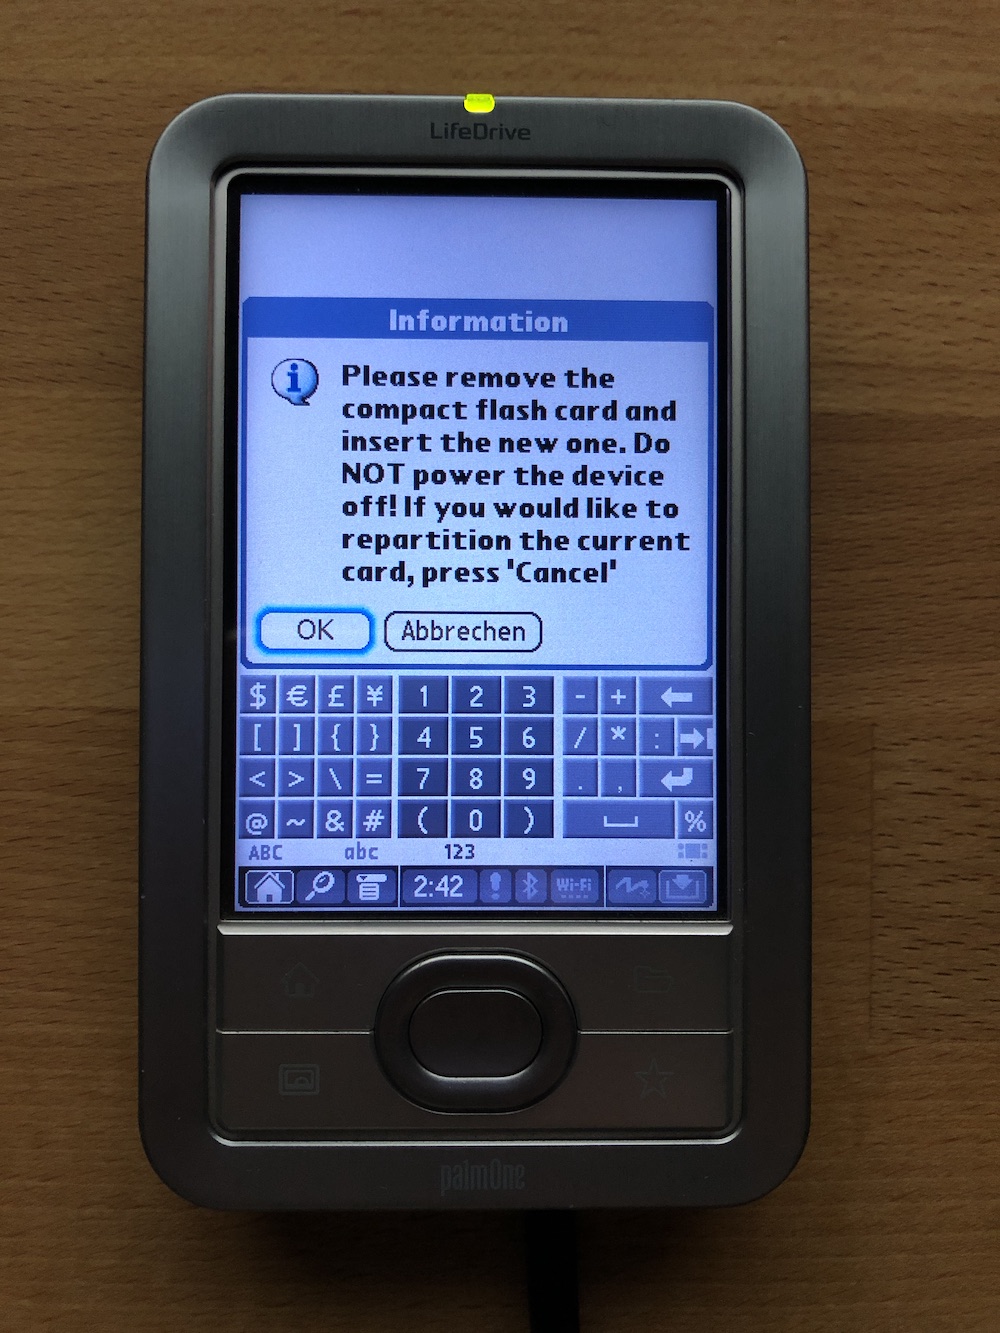
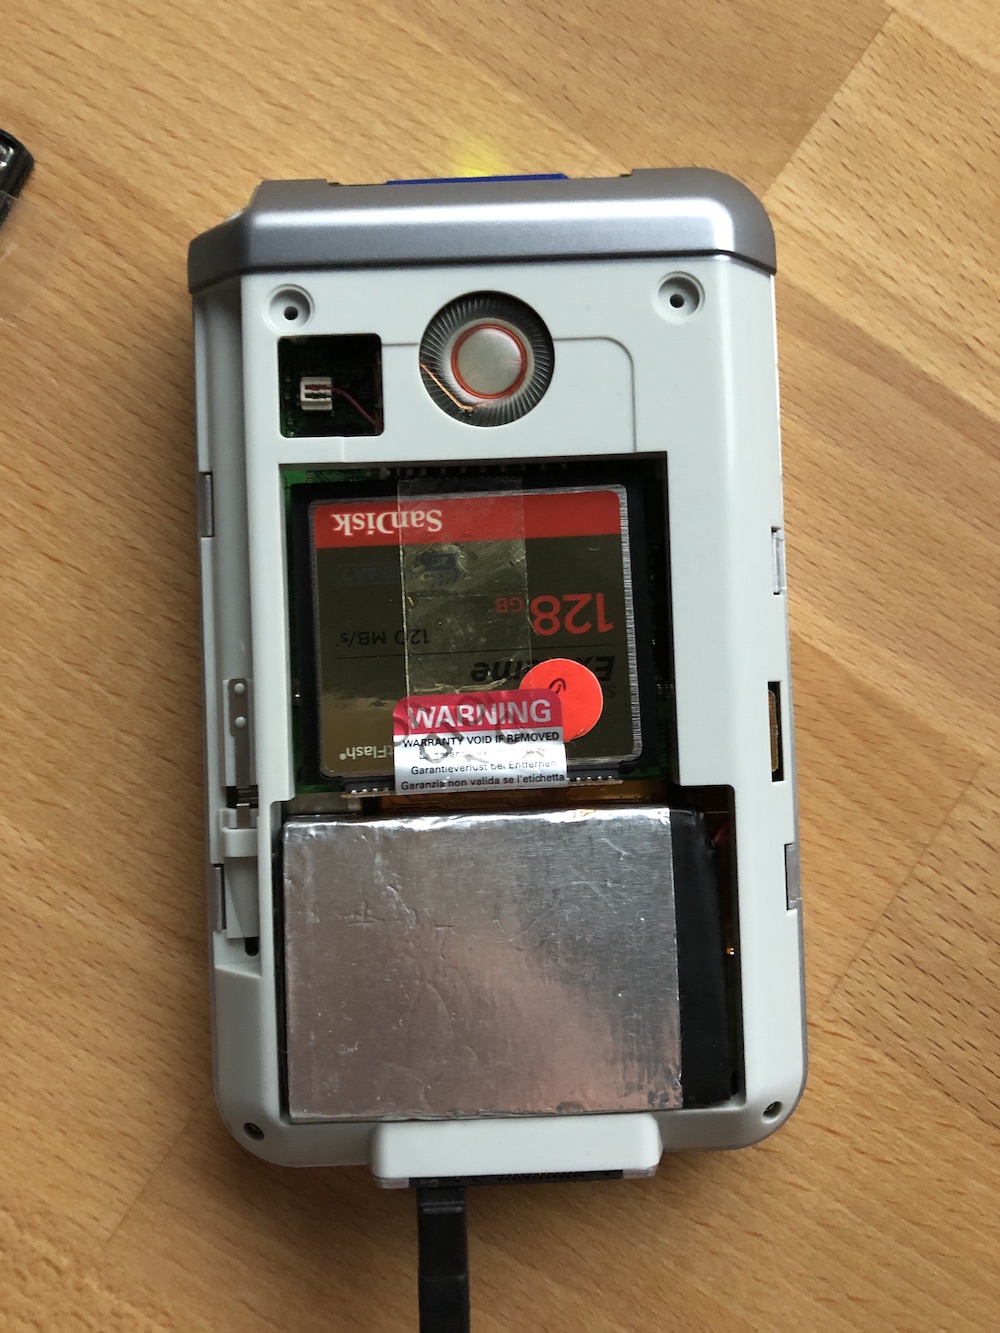
After the process has finished, the most "complicated" part needs to be done: removing the old microdrive and inserting the new CF card while the device is powered on! I have been told that the flex cable connecting the microdrive to the LifeDrive is extremely fragile! So be very careful here, so that the cable does not break. Many thanks to the maintainer of compuseum for this advice! Just peel off the "Warranty void if removed" sticker and carefully detach the microdrive. Then the new CF card can simply be plugged in.
-
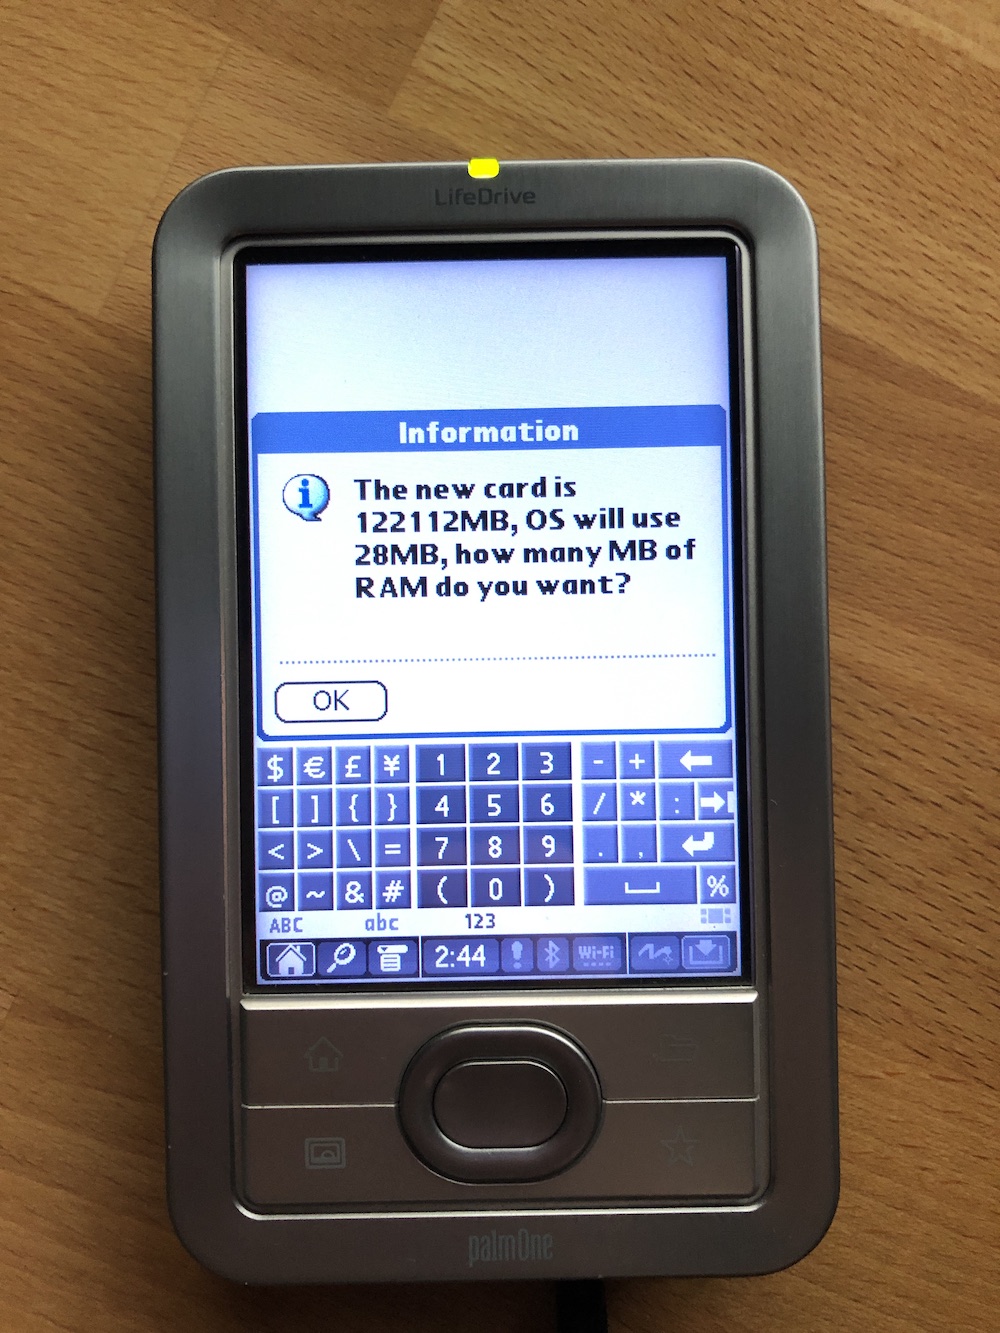
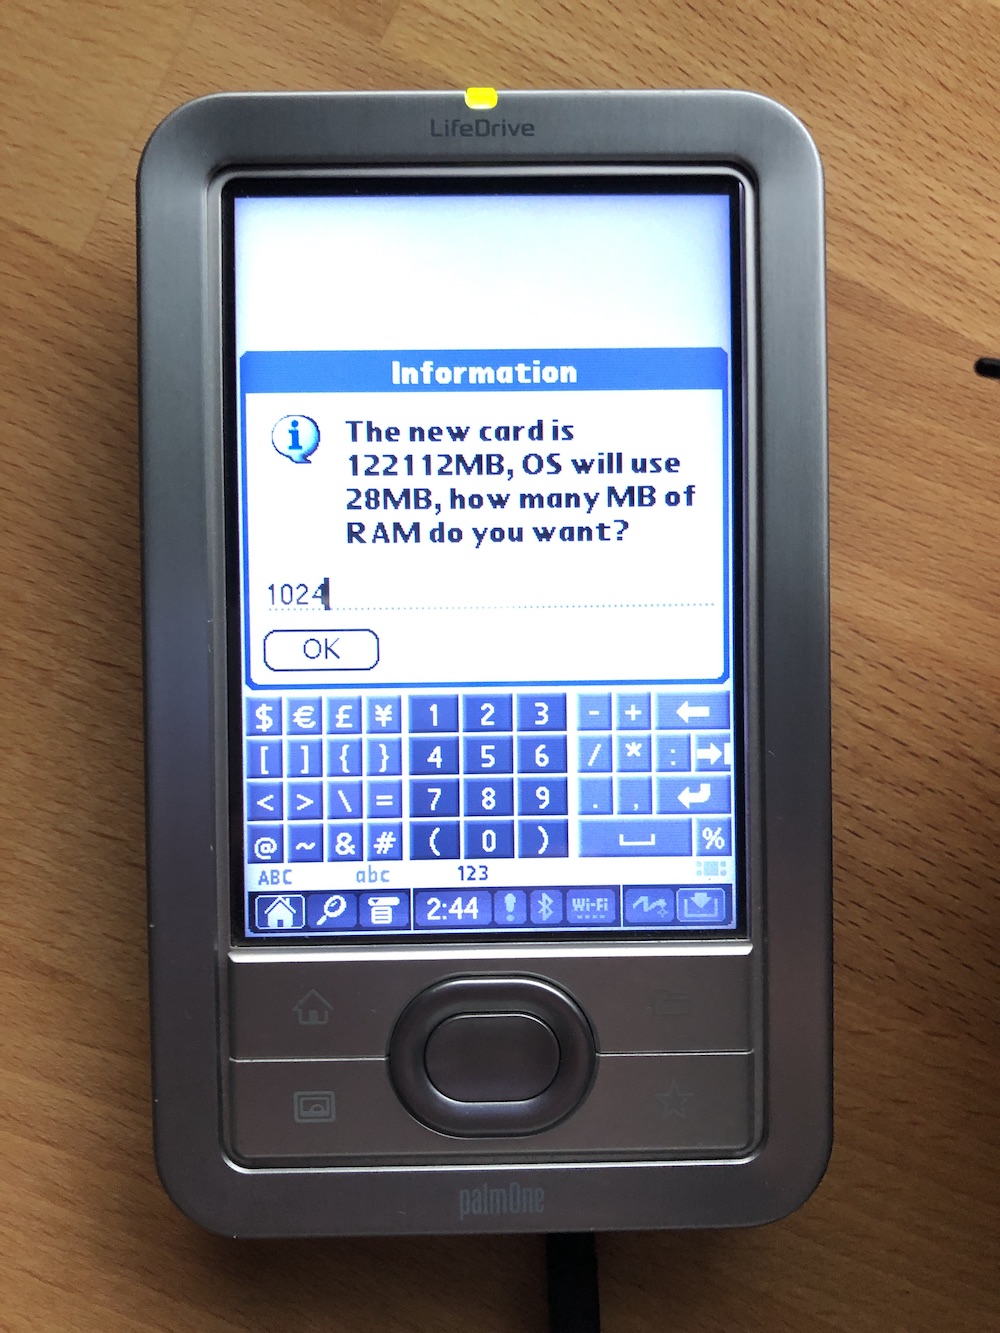
The new card was recognized successfully. (But sadly, this is no guarantee that everything will work).
-
In this case, I defined 1024 MB of RAM. Do not enter more than 1.5GB, otherwise FAT32 will be used as the filesystem and this is slower than FAT16.
-
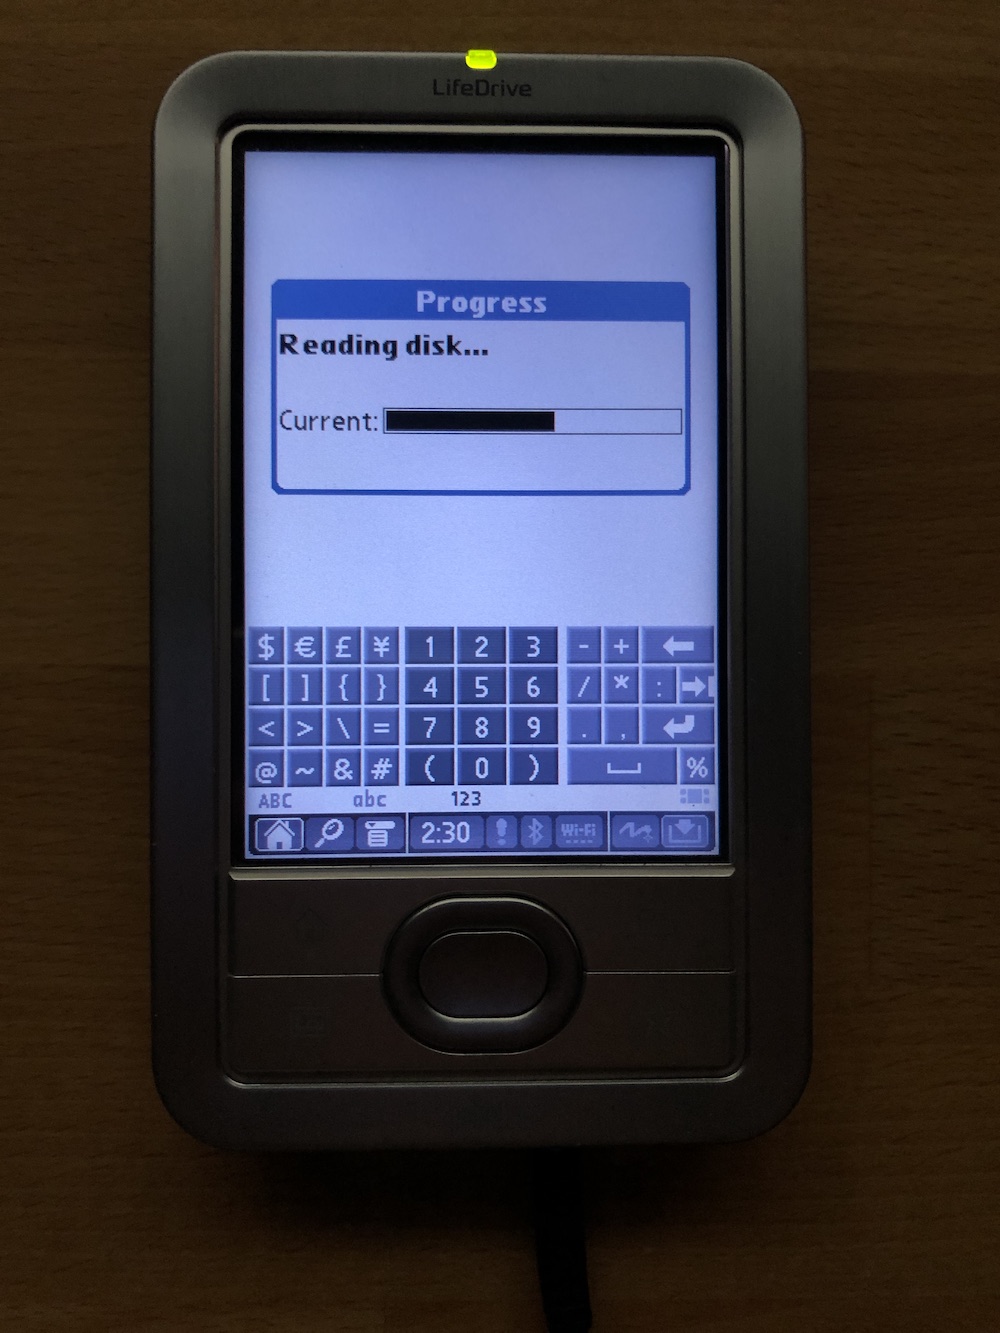
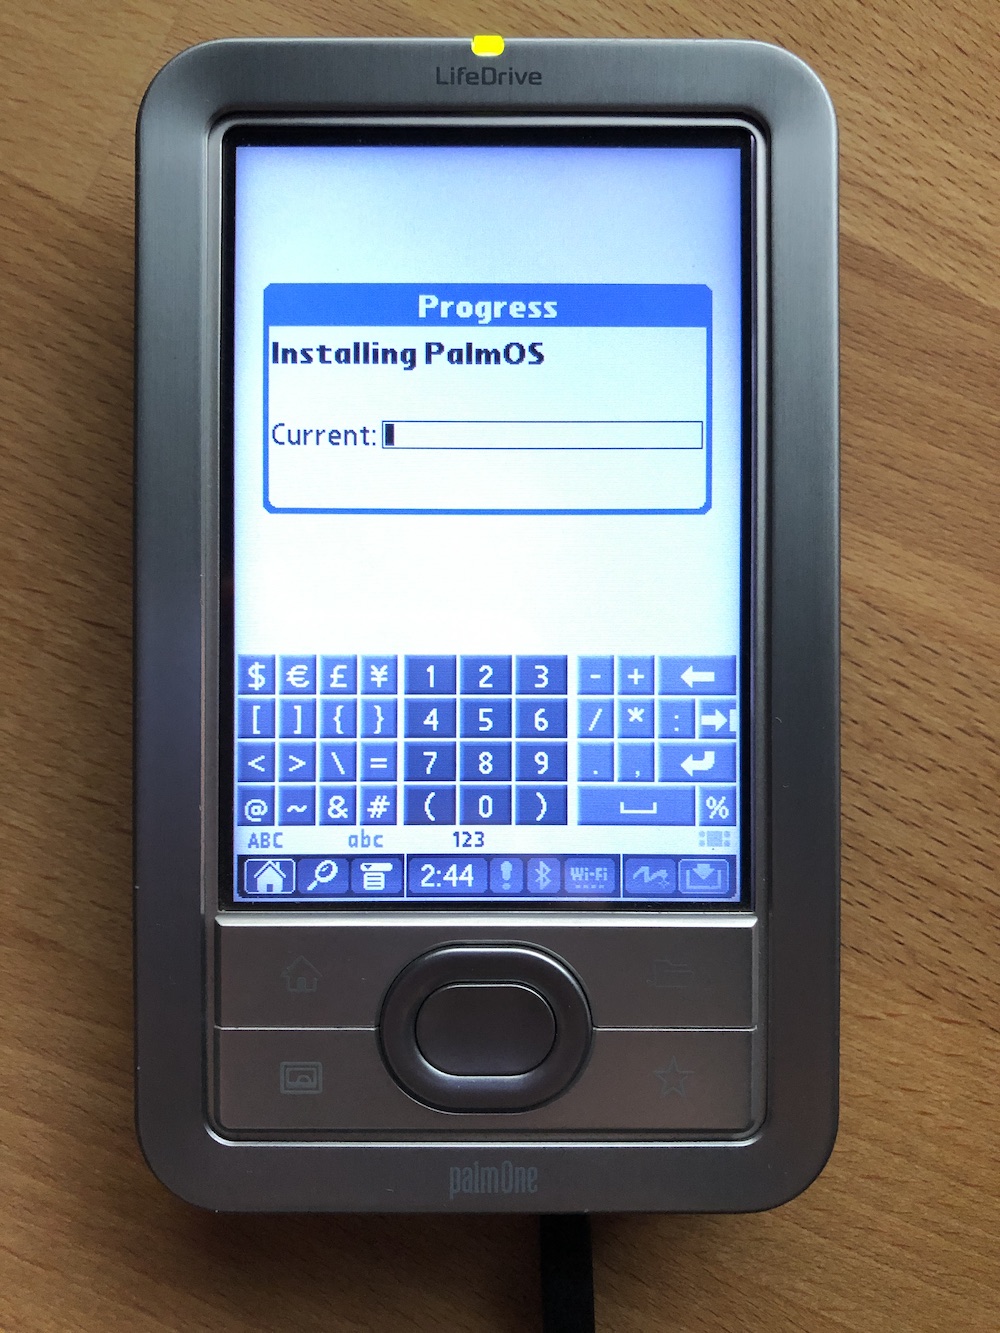
With the confirmation of the defined RAM size, the process of copying everything from the SD card to the new CF card starts. This will also take some time.
-
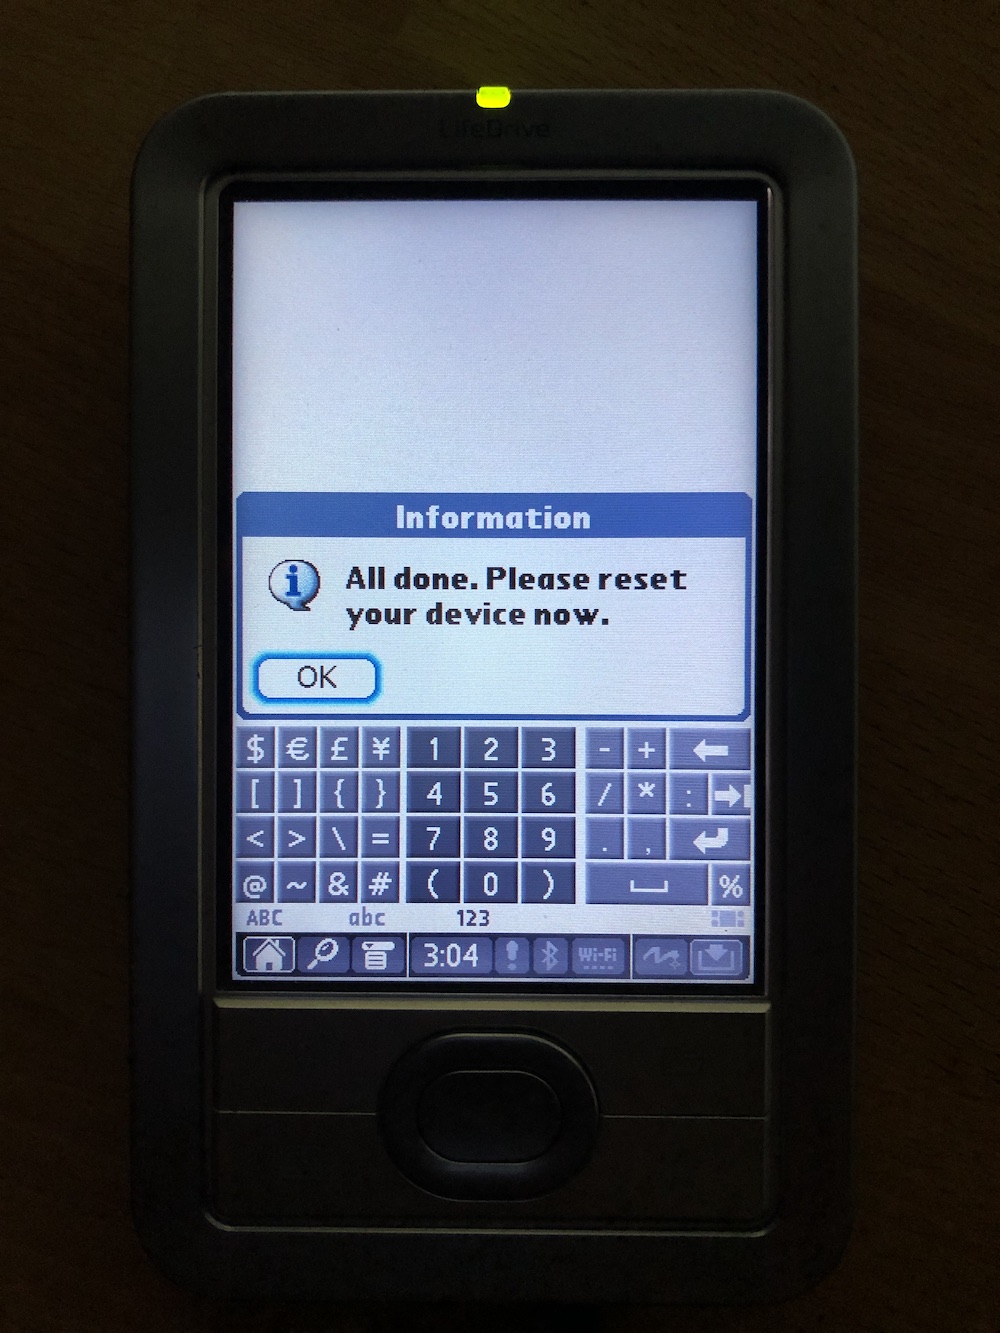
The copy process has finished and a reset is required. In this case, a hard reset.
-
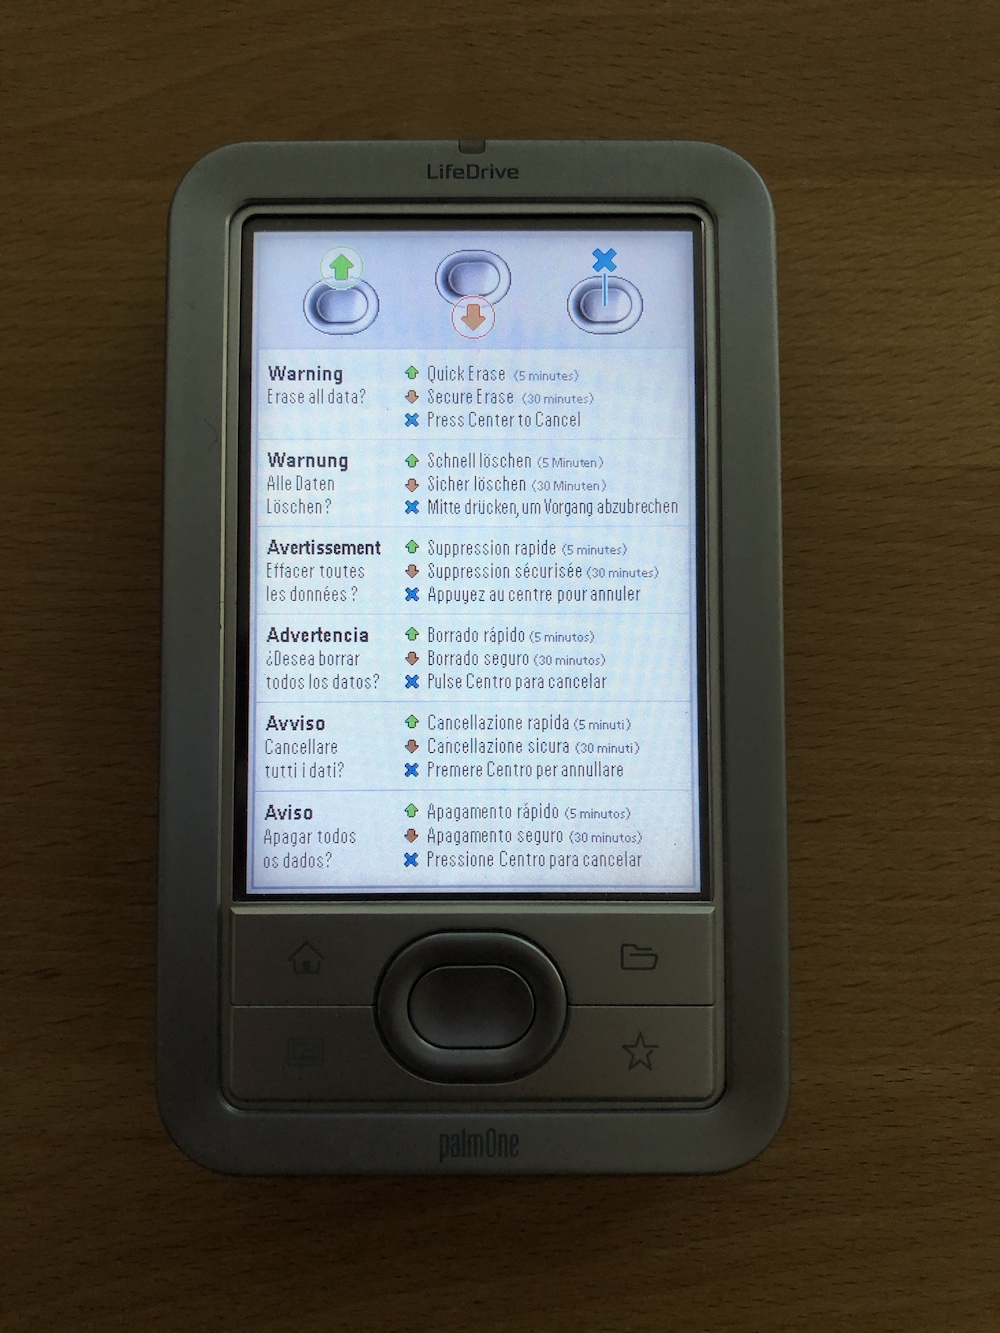
Just move and hold the power slider and poke the reset button with the stylus or a paper clip (it is located next to the connector). Then release the power slider and the reset options are displayed. A "Quick Erase" is good enough at this point. (If you do a normal reset by just pressing the reset button, the device will be stuck in a reset loop until you perform a hard reset.)
-
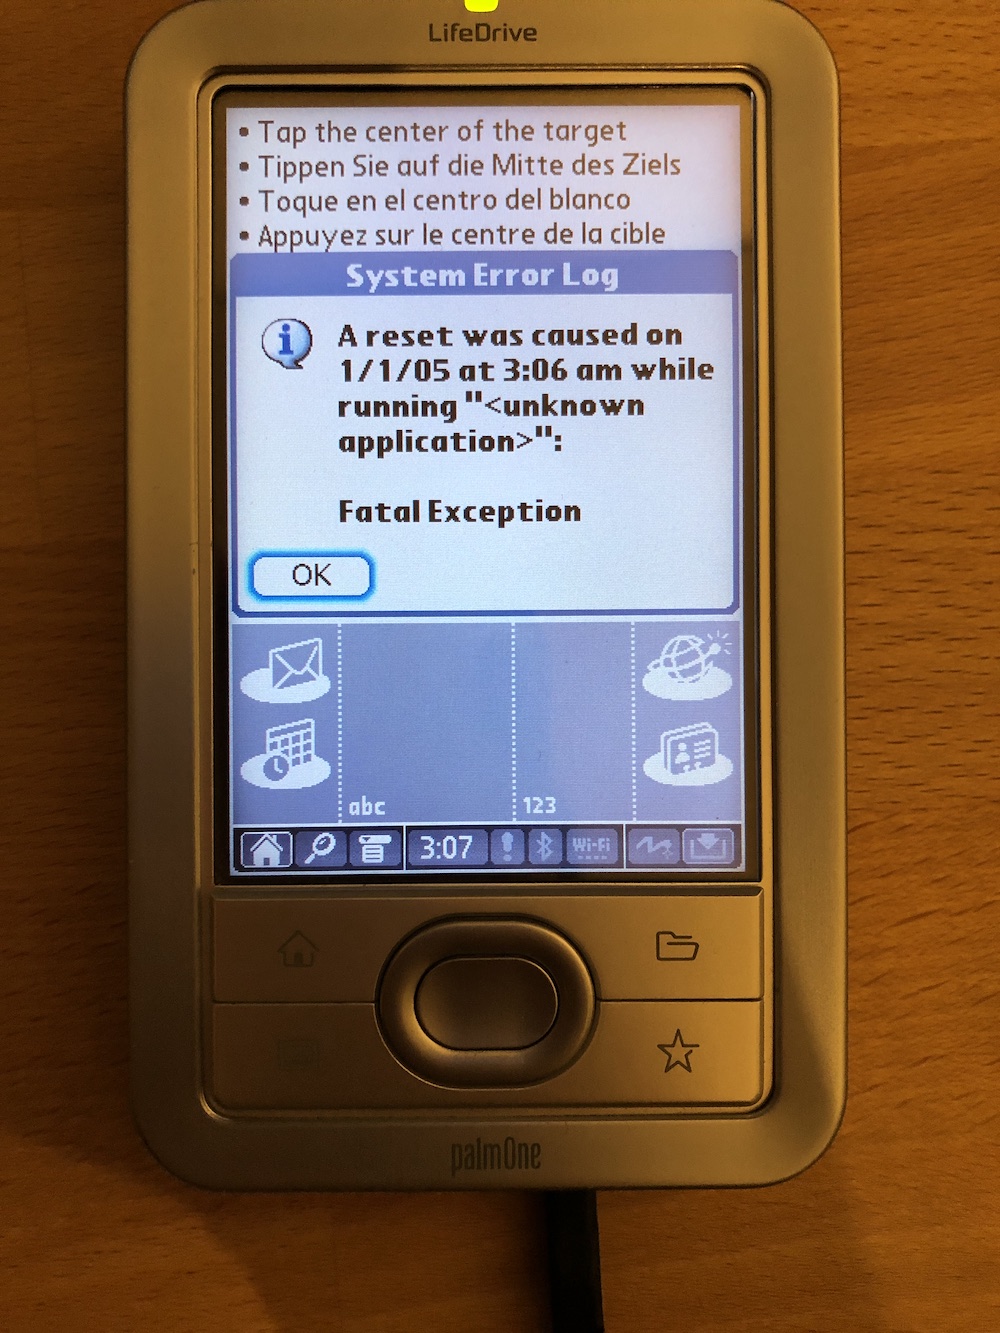
You may see an output of the system error log. Just ignore it and confirm it with "OK". (I assume that you only see it when a soft reset was performed instead of a hard reset in the step before.)
-
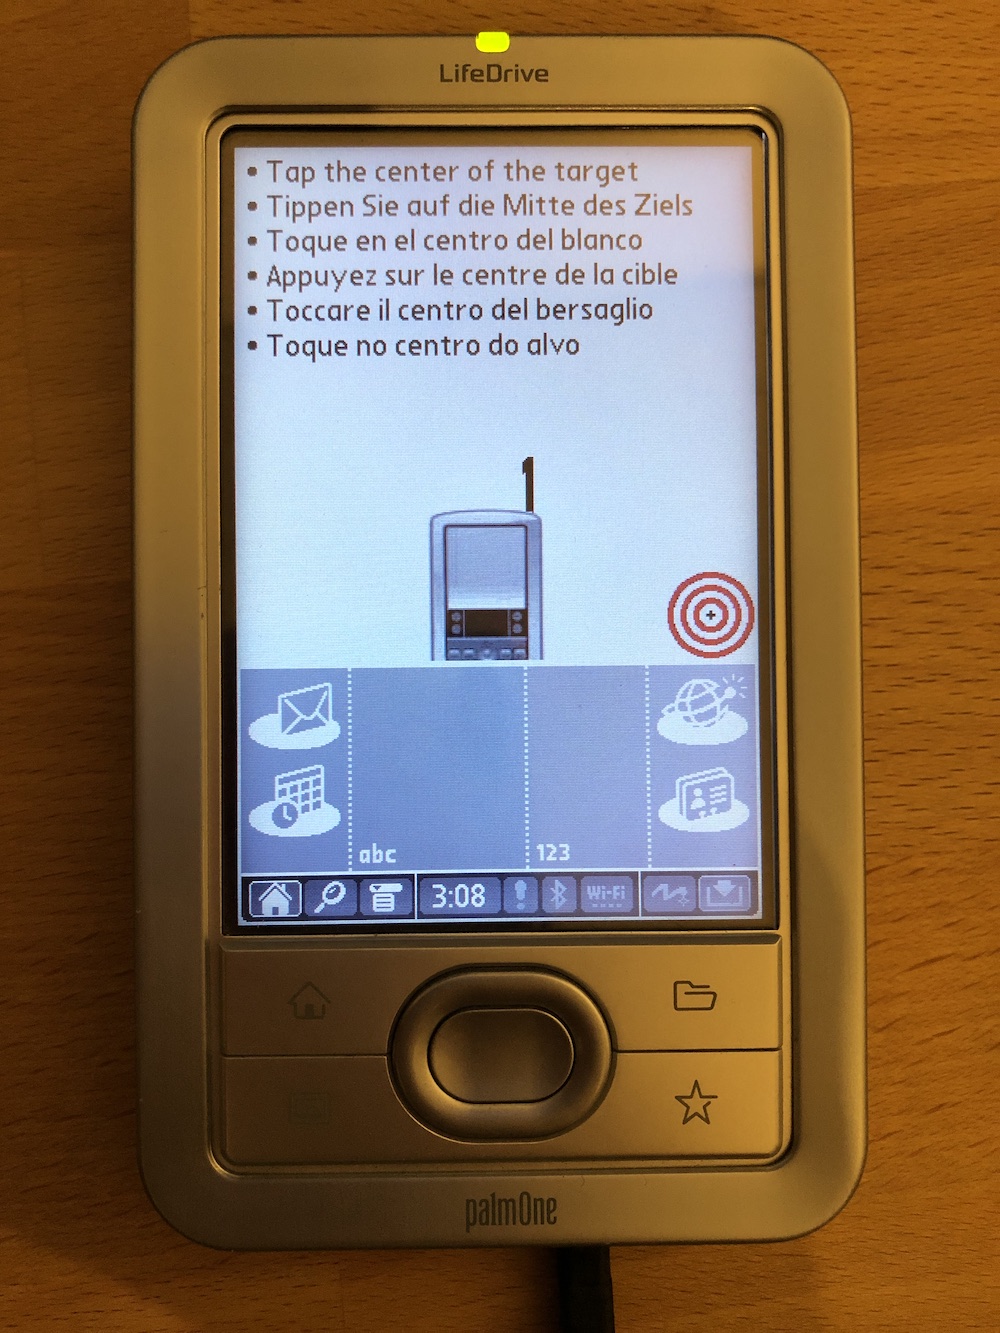
The process was successful. You can now set up the device. (If you do not see the calibration screen and instead you see a prompt to enter a password, then the CF card used is probably not suitable for the upgrade.)
-
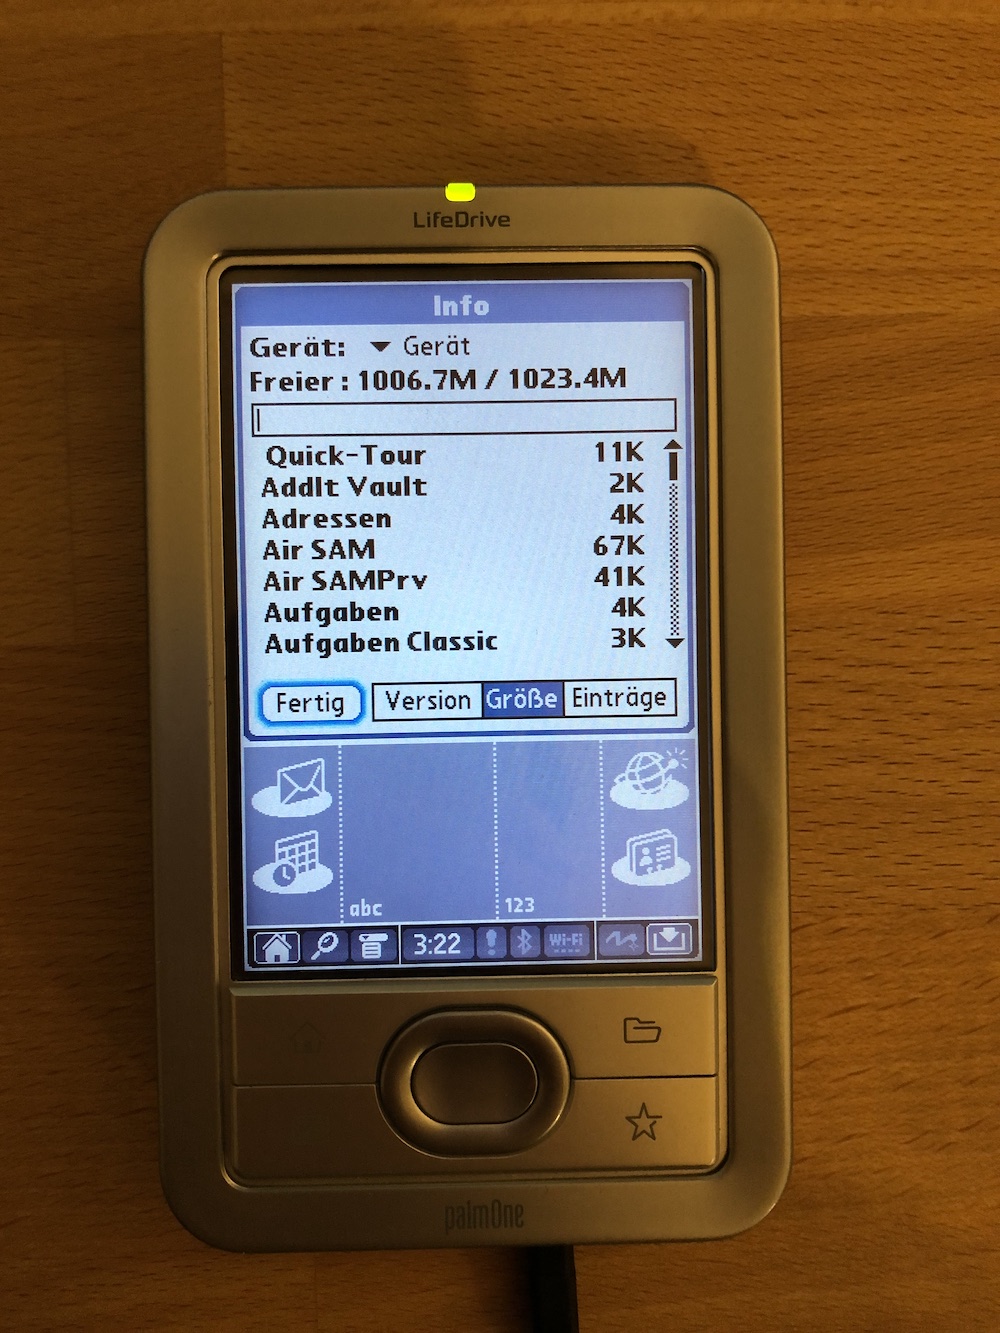
The new RAM size is recognized.
-
Only the size of the CF card cannot be displayed correctly by Palm OS. But this is a cosmetic error and does not affect the actual disk size of 128 GB (~118GB usable).

-
If the disk gets mounted, Windows (XP) shows the correct size.
